This demo covers the necessary steps to enhance a photo using the 10 Step Post Processing Workflow as outlined by www.cambridgeincolour.com. You may not need to follow this procedure with all of your photos, but whenever you want to get that special photo looking just right, these steps can make all the difference.
Table of Contents
Evaluating Photo
Before you carry out any editing, you have to first of all evaluate the photo to decide which steps you might need to apply. The display on the camera is so small, captured photos are hard to evaluate properly. So what do you look for when deciding if one of your photos can be improved?
The main areas to look at are :-
- The Tonal Range - range of tones in a photo between pure white and pure black.
- Colours - hue, saturation, and brightness can be adjusted.
- Flaws in Photo – Small imperfections can be retouched using Photo Editing Program.
- Sharpness of Photo – most photos can benefit from sharpening.
- Noise – can appear in low light conditions when using high ISO setting.
After evaluating a photo, you should then decide which steps of the Post Processing Workflow should be carried out as shown below.
| 10 Step Post Processing Workflow | Photo of Bedroom |
|
√ |
|
|
|
√ |
|
|
|
|
|
|
|
√ |
|
|
|
|
|
√ |
Read more at...
http://www.cambridgeincolour.com/tutorials/digital-photo-editing-workflow.htm
Step 1 - Adjusting White Balance

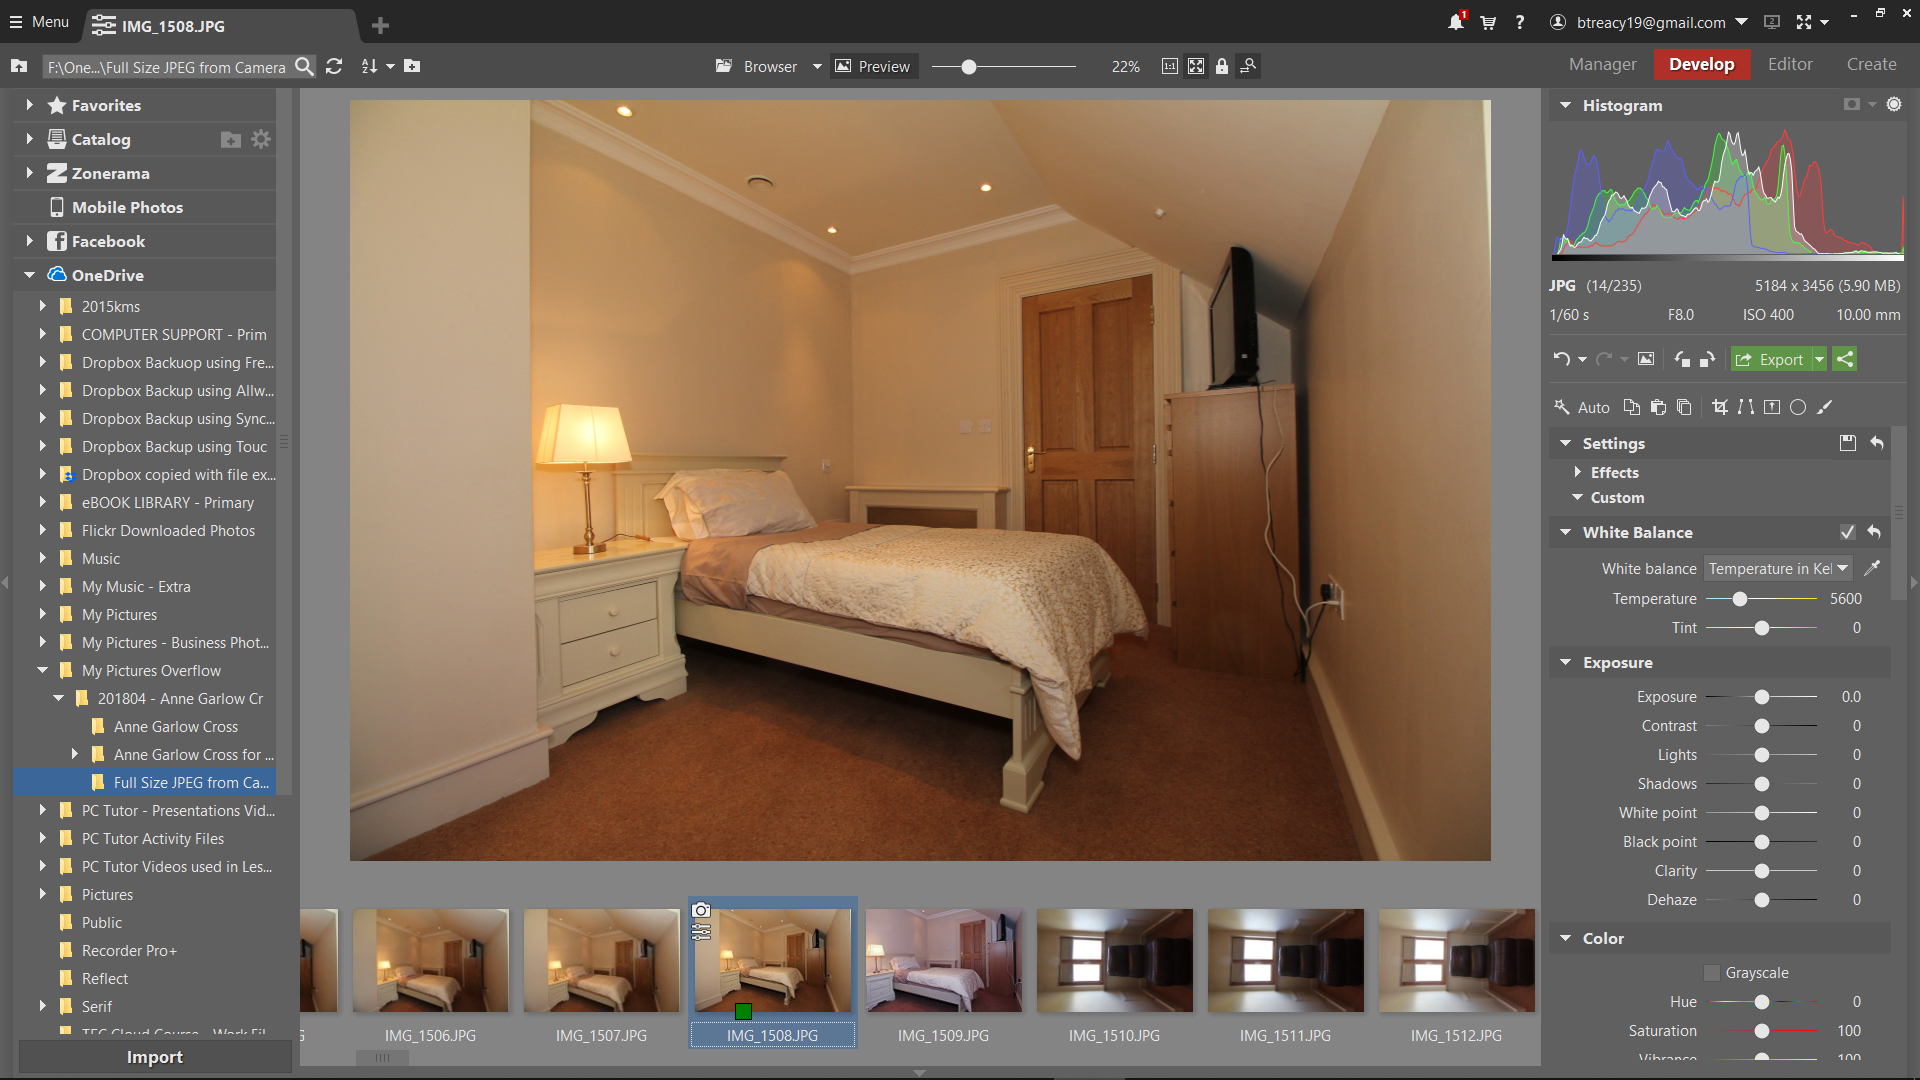
Figure: Photo of bedroom lit by both incandescent lamp and daylight coming from small window to right of camera.
As you may notice in the above photo, the camera has not properly captured the correct white balance. This is because it was set to auto white balance mode, where on this occasion it didn’t get it right.
Note: Paradoxically, cameras typically make the biggest white balance mistakes with scenes that are the most dramatically lit (and often could have benefited the most). Pay extra attention to white balance when shooting sunsets, indoor lighting and low-light photos, etc.
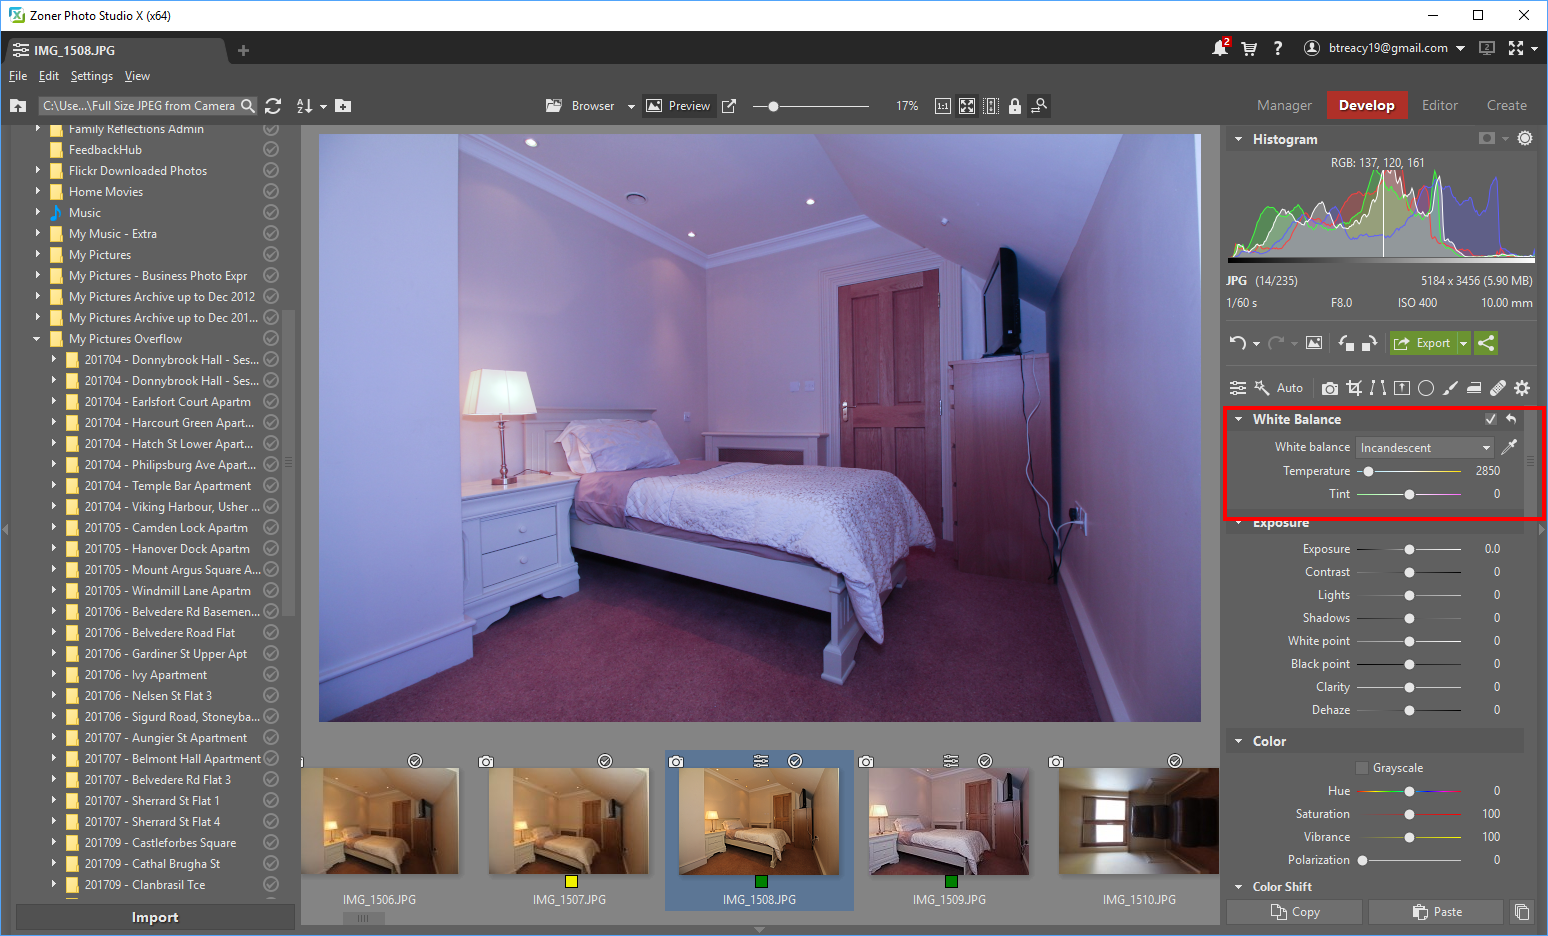
Within Zoner Photo Studio, it is possible to set the White Balance to ‘Incandescent’ which is a good first editing step as the bedroom is partially lit by the lamp.


Figure: Photo of bedroom after the white balance preset was changed to ‘incandescent’
Changing the White Balance preset is a slight improvement but the photo has also got a magenta tint. This can be removed by sliding the ‘Tint’ control to the left to add some green to cancel it out.

Figure: Photo of bedroom after Tint control set to –40
Notice now how the colours in the photo look more accurate.
In the above photo, it was fairly straightforward to adjust both the Temperature and Tint slider. With photos where its not so clear cut, it is usually easier to use the eyedropper tool near the white balance sliders.
To use it, all you do is click the eyedropper on a neutral colour and Zoner will automatically set the white balance for you. It is really easy. Here are the specific steps for using this powerful tool:
- Click on the eyedropper.
- Move to a neutral colour within your picture. I find that white works best, but gray and black work as well.
- Click on the neutral colour.
- If you don’t like how it looks, just find a different spot and click again.
When you click on a neutral colour, notice how the Temp and Tint sliders move as you use the eyedropper. You will find that much of the time Zoner (or other photo editing program like Lightroom) does a really good job of setting the white balance with this simple click.
Read more about using eyedropper tool at...
https://www.colesclassroom.com/understanding-white-balance/
Adjust Photo of bedroom with eyedropper


Figure: Photo of bedroom after the white balance has been set using the ‘eyedropper’ tool (highlighted in green).
When I used the ‘eyedropper’ tool on above photo, I clicked on the white pelmet but there are also other neutral areas of photo which could also be used, like pillow or duvet. It may also be necessary to go on to make finer adjustments using the Temperature and Tint sliders to get a more accurate White Balance result.
Step 3 - Noise Reduction
‘Photo noise’ is the digital equivalent of film grain for traditional cameras. For digital photos, this noise appears as random speckles on an otherwise smooth surface and can significantly degrade photo quality.
Although noise often detracts from a photo, it is sometimes desirable since it can add an old-fashioned, grainy look which is reminiscent of early film. Some noise can also increase the apparent sharpness of a photo. Noise increases with the sensitivity setting in the camera, length of the exposure, temperature and even varies amongst different camera models due to different sensor sizes.

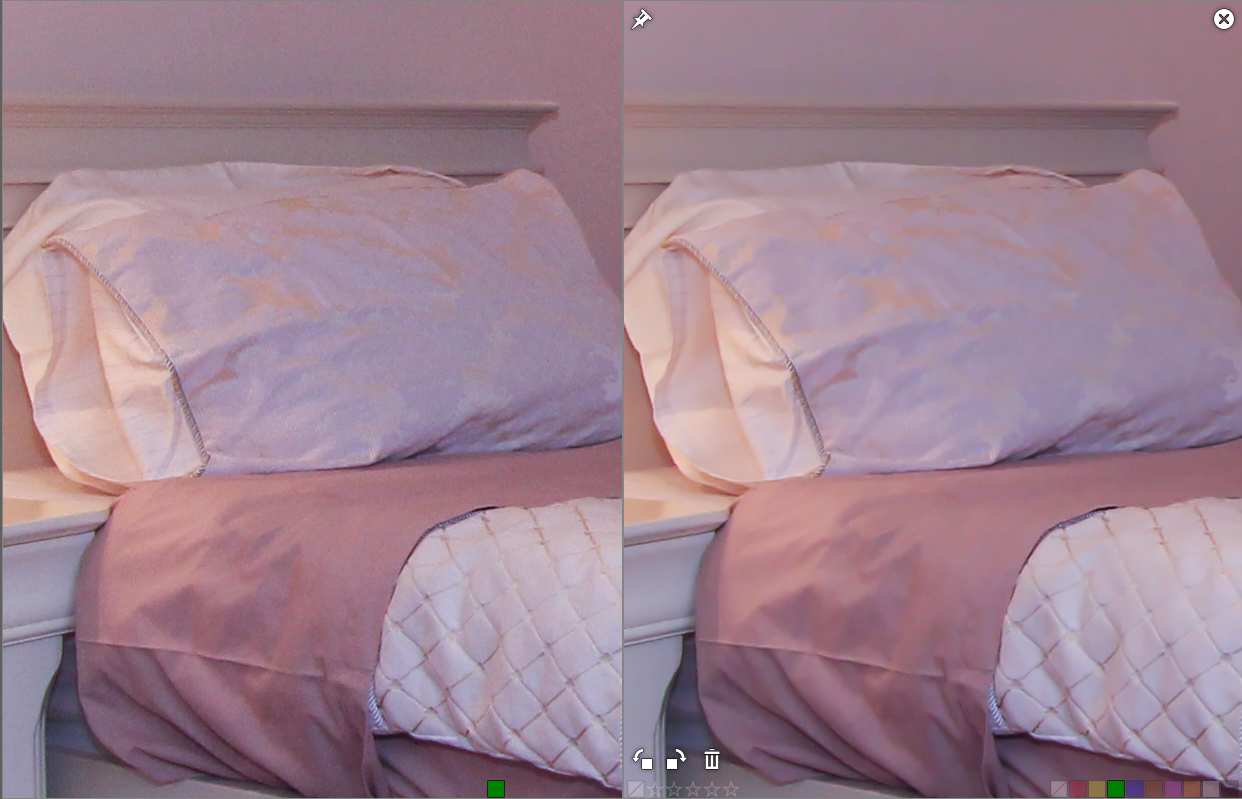
Figure: Close-up of bedroom photo – noise reduction has been applied on the right
As this photo was taken at a high ISO i.e 400 and in low light conditions, some noise is visible on the photo as can be seen on the left. Within Zoner, I set the Noise Reduction - Brightness setting to 80% and as you can see on the right, the noise level is more acceptable without loss of detail.
Step 7 – Framing - straighten and crop
Cropping is one of the easiest adjustments you can do to a photo, while also having the biggest impact on improving the photo. In the photo below, you can see that the crop tool, from the right-hand tool palate, has been used to select the area of the photo to be cropped.

Figure: Photo of bedroom with area to be cropped already selected
Once you are satisfied that the photo will be improved if it is cropped as selected, press the Enter key, and the crop will be applied.

Figure: Photo of bedroom after it has been cropped
Note: When using the crop tool in Zoner Photo Studio, the aspect ratio of the original photo is maintained. In other programs, like The Gimp, it is necessary to specify the aspect ratio in tool options beforehand.
Step 10 - Output Sharpening
The apparent sharpness of a photo depends a great deal on how much contrast there is along edges and lines. If a photo looks soft, it can often be improved by sharpening, a process (technically called unsharp masking) that adds contrast along lines and edges. Many photographers sharpen almost every photo except for photos such as fog scenes that are deliberately soft.
Note: If they are misused, sharpening and noise reduction can actually cause problems with your photos. However, if they are used with care, they are a great way to add polish to your photos.
Read more at…
http://www.cambridgeincolour.com/tutorials/photo-sharpening.htm

